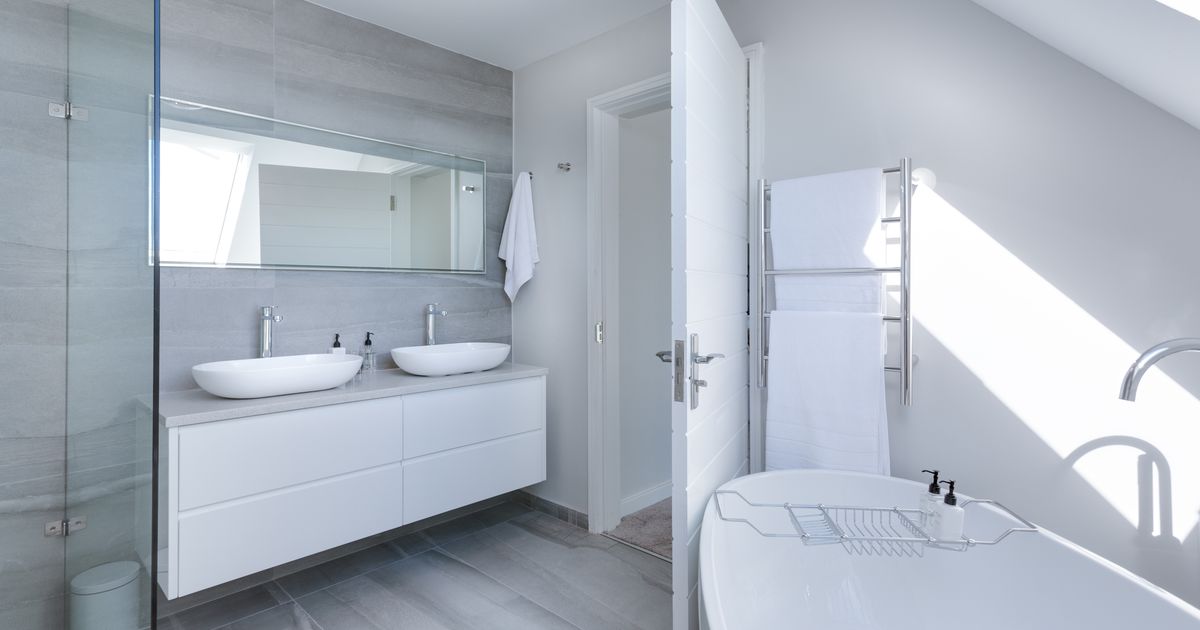
Most people replace bathroom silicone and wonder why it's cracking again six weeks later. The answer isn't the product — it's the sequence. Miss one step and you've reset the clock to zero.
This guide covers the three-step professional process — and the one trick almost nobody knows.
01 -- Remove Everything First
Removal: Scraper + Chemical
The foundation of a lasting seal is a completely clean surface.
02 -- The Critical Step Everyone Skips
Degreasing
This is where most DIY attempts fail.
03 -- The Professional Application
Application: The Weight Trick
The secret that separates professionals from amateurs.
⚠ RISK: What Black Spots Mean
If you see black spots beneath the silicone after removal — not surface mold, but spots embedded in the grout or wall — this indicates mold inside the wall structure or ventilation failure. Replacing the silicone will not fix this. The source is either inadequate bathroom fan extraction or a hidden leak. This requires professional diagnosis before re-sealing.
Related Insights
Moisture
Moisture in Prague Ground-Floor Apartments: Rising Damp vs. Condensation
If you find mould behind the silicone, the source may be structural — not cosmetic.
Case Study
Ground-Floor Unit in Radlice: Moisture-Mapping Audit
How a moisture-mapping audit verified damp-proofing integrity in a 5M CZK investment unit before signing.
Having Trouble With the Seal?
Sometimes the issue isn't the silicone — it's what's behind it. TUTEL can diagnose whether your bathroom has a structural moisture problem before you re-seal.
Book a technical consultation